
Khachapuri
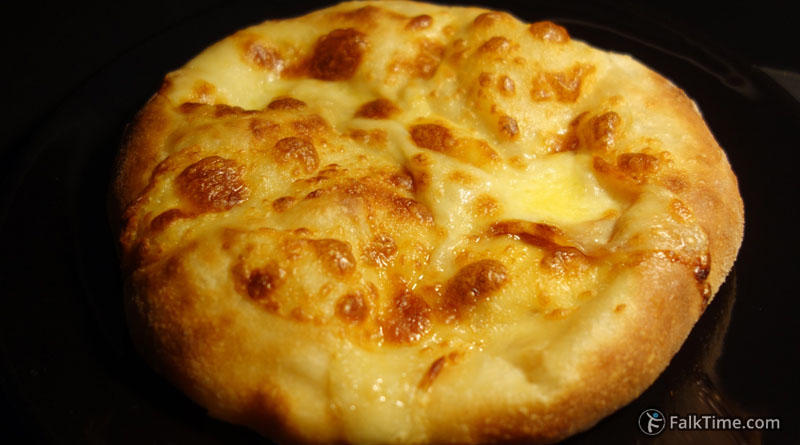
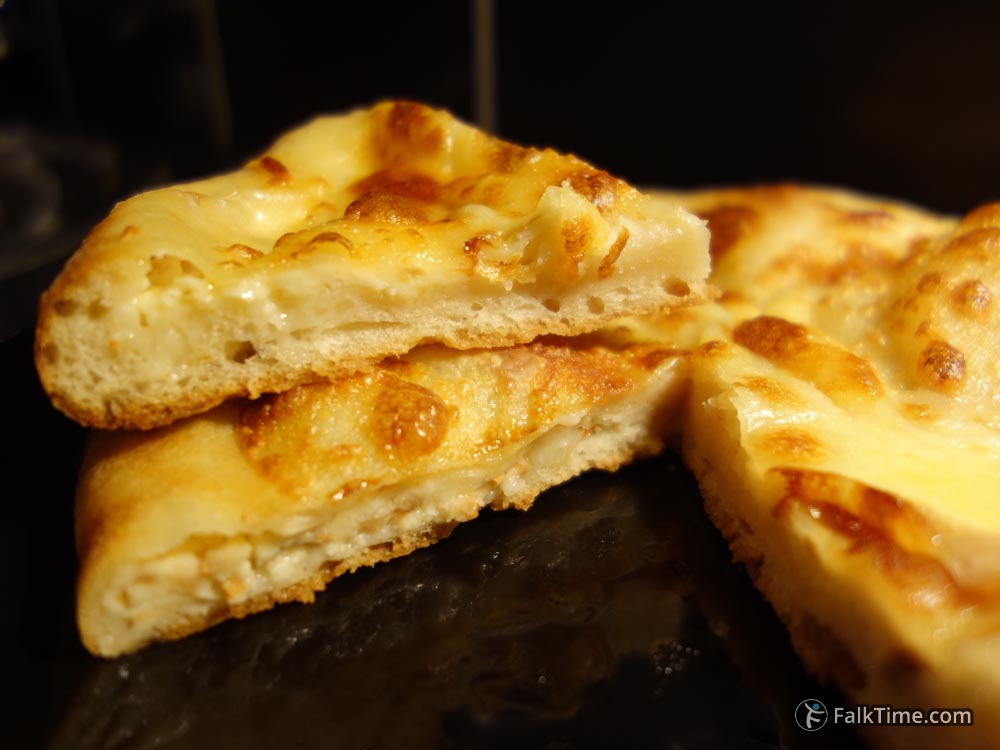
Khachapuri is traditional Georgian cheese pastry. It’s usually described as cheese (flat) bread, I’d rather call it a cheese pie, because the amount of cheese = the amount of dough, sounds yummy, right? And it’s really amazingly delicious. And surprisingly easy to cook.
In this article I want to share my recipes of khachapuri with you (4 types of filling, including one with smoked cheese). Also I will explain all one needs to know about khachapuri – how to choose cheese, and how to fry it instead of baking.
How to choose the right cheese for khachapuri?
Cheese plays the main role in khachapuri – first of all it’s amount (600-700 g) is almost equal the amount of dough. Secondly it should be specific cheese.
Georgians use for khachapuri Imeretian cheese (aka Imeretinsky cheese). In my city I could not find it. So what’s this? It’s a young cheese that can be consumed like it is or it can be used to produce sulguni cheese. So if you can’t find Imeretian cheese, try my way of replacement (2-3 types of cheese instead of 1):
1. I take sulguni cheese – it’s a cheese soft almost as mozzarella. Sulguni will give the taste of Imeretian cheese. Sometimes sulguni that I’ve tried in my city has some sour flavor (it’s good, then you may omit the 3d cheese, bryndza), but sometimes it has no sour taste at all (then bryndza is a must-use ingredient).
All these types of cheese are too mild to use grater. But sometimes sulguni can be harder, it means that this is not the right sulguni, but it will do.
2. To achieve the texture of young cheese, I choose Circassian cheese. It’s popular in Russia, but I’m not sure, if you have it. So I’ll try to explain, what’s this: it’s a mild cheese with neutral flavor. It doesn’t melt, when heated and you can’t cut it in thin slices as it falls apart. It can be compared to ricotta or feta. Note: it has no sour taste at all. That’s why I have to add –
3. Bryndza – it’s a brine cheese of paste texture with distinct sour taste. Such type of cheese is popular all over the world. F.e. you can find similar cheese in Turkey under name “beyaz peynir”.
So here we go. 1st type of cheese is used to give flavor and to melt down, 2d cheese – to give some texture and the 3d type to add some sour taste – it will be almost unnoticeable, but it plays important role: once I had made khachapuri without this “pinch of sour”, believe me, it didn’t taste good. Once I have replaced bryndza with citric acid – instead of milk (in filling), I took the same amount of water and dissolved ~0,5 tsp of citric acid.
I hope my explanations have made the picture clear.
Types of khachapuri
In this article I will describe all types of khachapuri of round shape. Possible difference: you can top it with cheese prior to baking or omit this step. Both khachapuris will be tasty.
The difference in fillings I will explain below the list of ingredients of each filling. It means that you need to choose only 1 filling for the amount of dough that I’ve given you. Pay attention at khachapuri with smoked cheese – it’s very delicious and unusual.
Method of cooking – you can choose whether you want (can?) to bake khachapuri or to fry it. There’s no big difference between these methods. I have both stove and oven, and I prefer to bake, because it’s quicker and if you spread some cheese over khachapuri, it will become golden brown. Fried khachapuri has a thicker crispy crust (bottom) – it’s tasty. While baked khachapuri seems to have a little bit softer dough.
How to make Adjarian khachapuri (beautiful open khachapuri of boat shape) I will explain separately.
Dough ingredients:
- 1 tsp of dry yeast
- 200 ml of warm water (36-38°C)
- 100 ml of warm milk (36-38°C)
- 400 g + 1 tbsp of all-purpose wheat flour (+ some more for shaping)
- 1 tsp of salt
- 1,5 tsp of sugar
- 50 ml of flavorless oil
Filling, type #1 & 2:
- 300 g sulguni cheese
- 200-250 g Circassian cheese
- 100 g bryndza cheese
- 60 ml of milk
- 1 egg (optional)
- Up to 0,25 tsp of salt (to your taste)
The difference between #1 and #2 is in absence of egg. I can’t say which one is tastier. Usually everything depends on absence of eggs in my fridge.
Because of milk these fillings seem to be juicy. Probably you won’t feel it unless you compare it to the next type of filling.
Filling, type #3:
- 300 g sulguni
- 200-250 g Circassian cheese
- 100 g bryndza
- 50 g of butter
- Up to 0,25 tsp of salt (to your taste)
This filling is definitely dryer than previous. But its advantage is pleasant butter flavor.
Filling, type #4 with smoked cheese:
- 250 g of smoked sulguni cheese
- 150 g of ordinary sulguni (can be replaced with Circassian cheese)
- 150 g of Circassian cheese (can be replaced with ordinary sulguni)
- 100 g of bryndza
- 60 ml of milk
- Up to 0,25 tsp of salt (to your taste)
Once upon a time I have tasted such khachaoury in Georgian bakery. I highly recommend tasting it, as I’m in love with its flavor. Concerning ingredients – surprisingly I have found smoked sulguni in a nearby hypermarket in St. Petersburg. I suppose it can be replaced with smoked bocconcini (little smoked mozzarellas of harder texture). Smoked sulguni has tender taste and the flavor/smell of smoke is also rather tender.
Instructions
1. Let’s start with dough. Depending on what you will find on the package of your dry yeast, add yeast to flour (than go straight to step #3) or to the water (cover the glass and give yeast 10-15 min. to activate).
2. Warm the milk up in microwave oven (you can check the temperature with finger – if you don’t feel warm or cold, or you feel slightly warm liquid – that’s the right temperature). Add milk and 1 tbsp of flour to yeast. Mix it, cover and leave for 15-20 min.
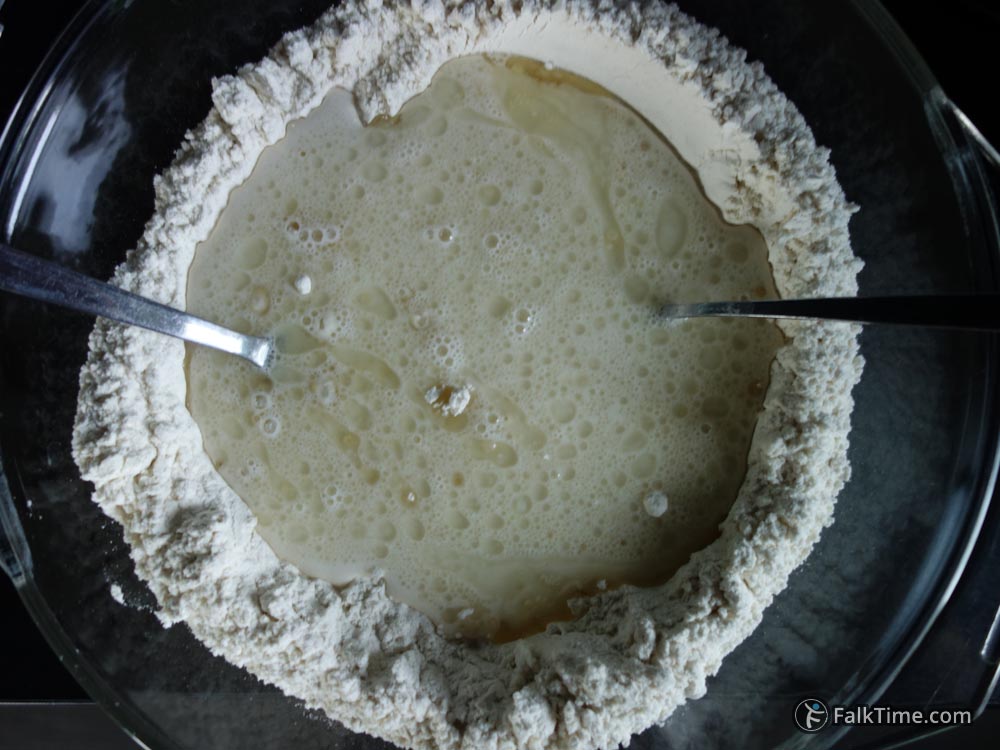
3. Put 400 g of flour, salt & sugar to a bowl (3 liter capacity is good), combine them with a tablespoon. Add oil and yeast mixture. Take the 2d tablespoon and knead the dough with use of 2 spoons – it goes quite easy and quickly, so there’s no need to use food processor. I don’t recommend kneading dough for khachapuri with hands: it’s too sticky.
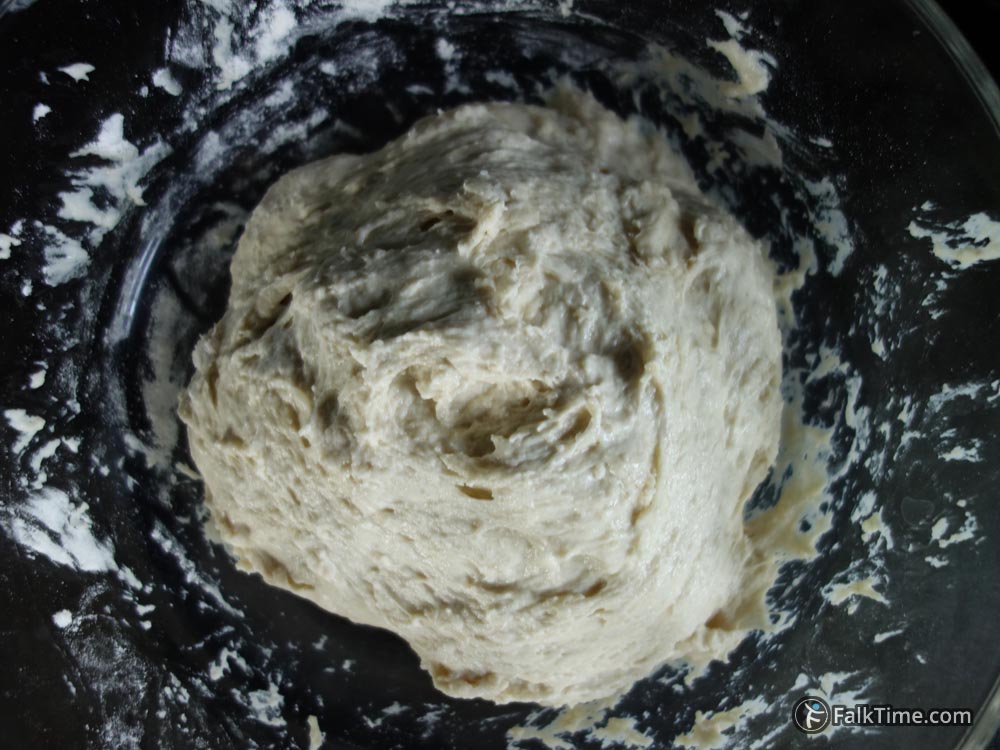
4. Cover the bowl and leave the dough to rise for 45 min.
5. While the dough is rising, let’s make the filling. As I’ve mentioned, cheeses for khachapuri are mild, so just crumble them with fingers. But if the sulguni you’ve bought is too hard, then you need a grater:
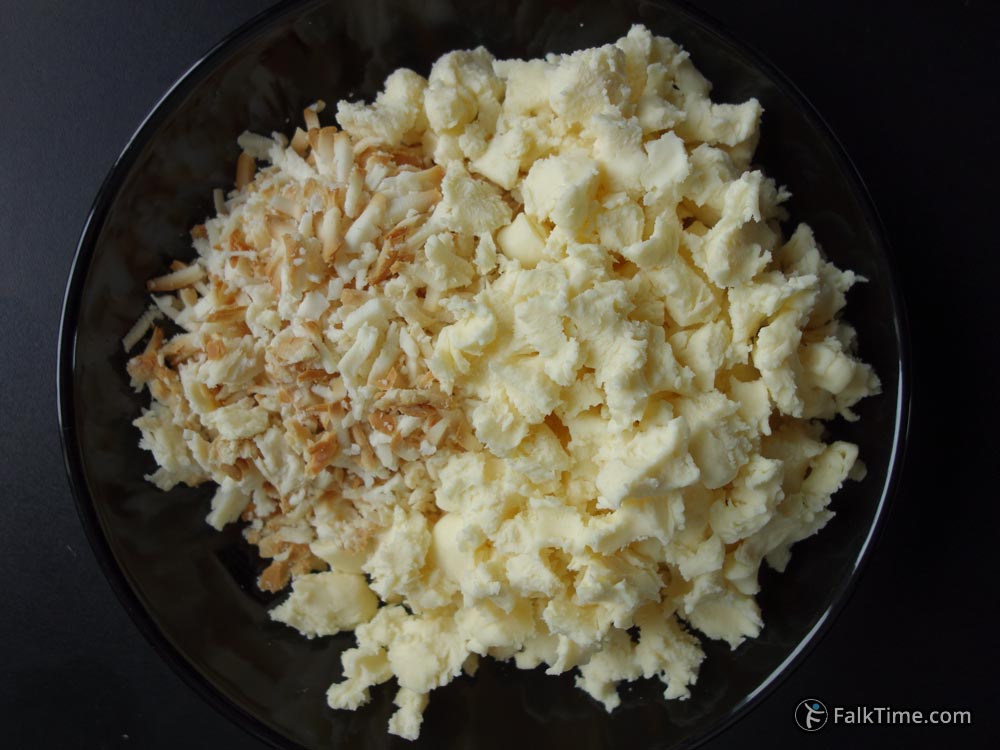
If you make khachapuri filling with butter, you need to melt the butter and leave it for some minutes to cool down prior to adding to cheese.
If you want to top khachapuri with cheese – reserve ~100 g of sulguni cheese (ordinary, not smoked).
Combine cheese & milk with hands and taste the filling: it should be more salty than the food you got used to. If the filling tastes unsalty or as salty as the ordinary food you eat – add some salt. Add egg/butter (if you use) and knead the filling for a while.
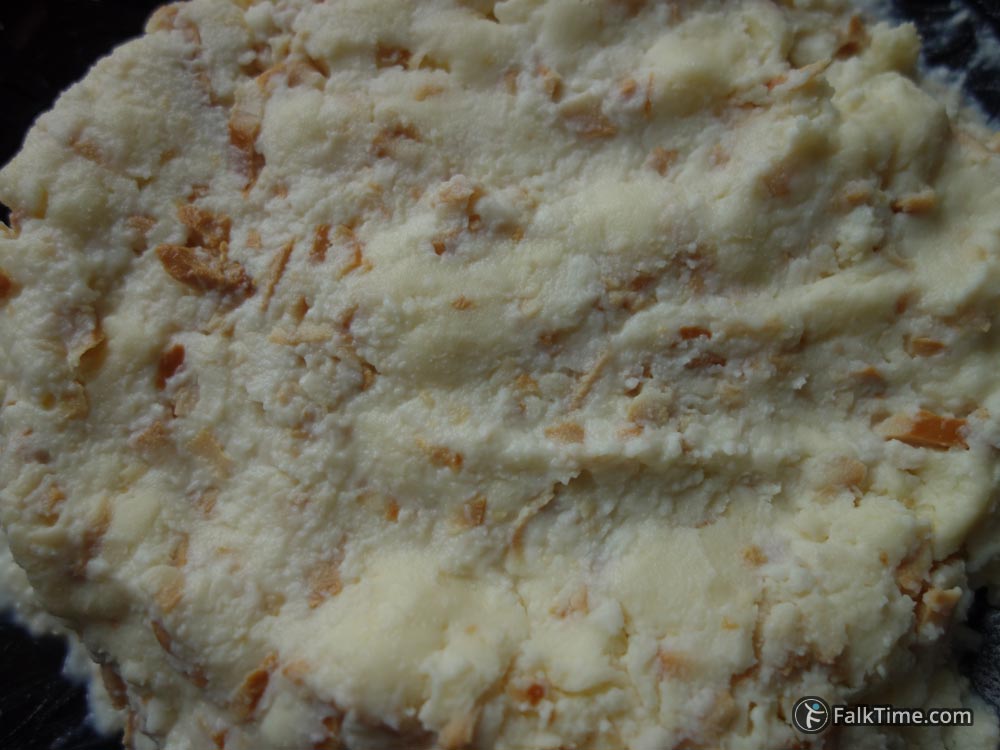
Put khachapuri filling in a fridge.
6. Open the bowl with dough. Use spoons to cut the dough off the walls of bowl and flip over the dough. Cover the bowl and leave the dough for another 45 min.
7. Now we have ready to use but still sticky dough. The most important thing is to leave most of bubbles that the dough has now. That’s why we’ll do everything with hands. First of all sprinkle working surface with some flour. Now turn the bowl and help the dough to come out by cutting it off bowl’s walls with a spoon (knife, spatula, whatever). Cover your hands with some flour + gently rub the surface of dough with some flour (in order to reduce its stickiness).
Now you should divide the dough in parts (3-5). Today I make 3 khachapuris, so I divide it in 3 parts. In order to divide dough without disturbing bubbles, pinch dough with fingers and nip it off. Put 2 portions of dough aside.

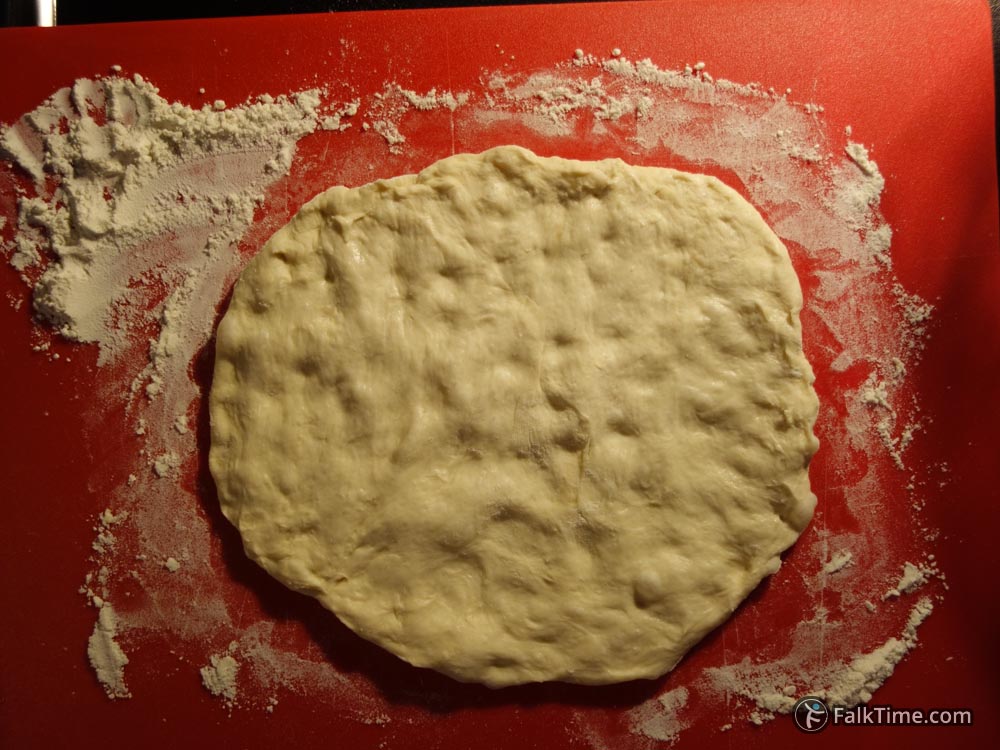
8. If there’s no flour on working surface, it’s time to sprinkle some more. Now put 1piece of dough and make it flat & round (~20 cm in diameter) with very gentle pressing movements of your fingers (don’t keep fingers together) – this way we will save magical bubbles in the dough.
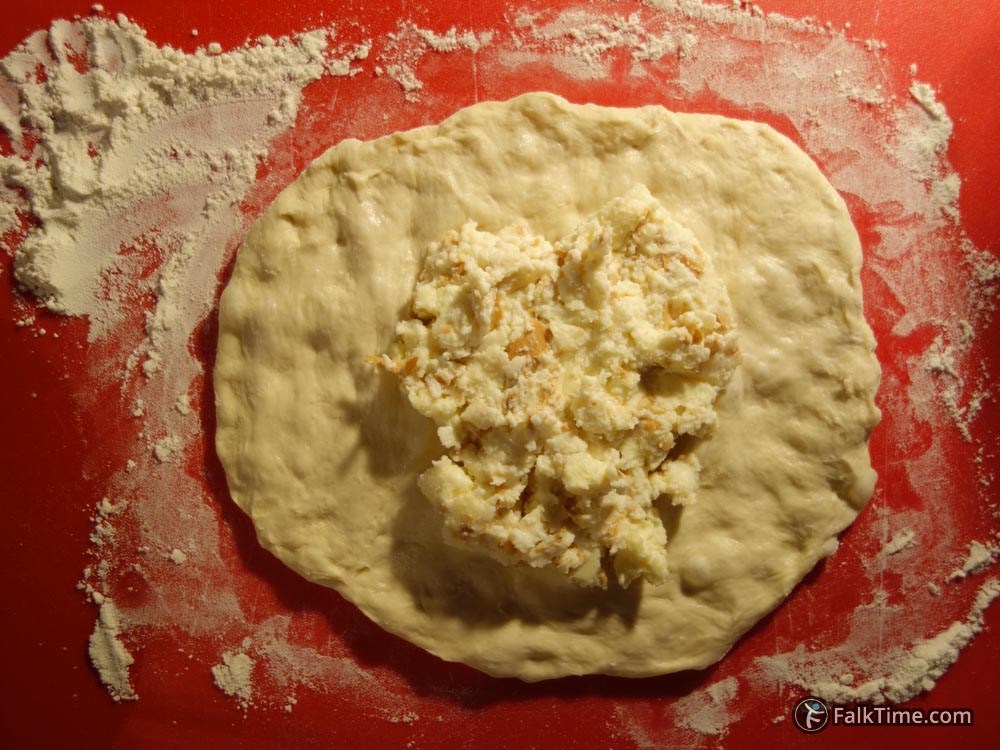
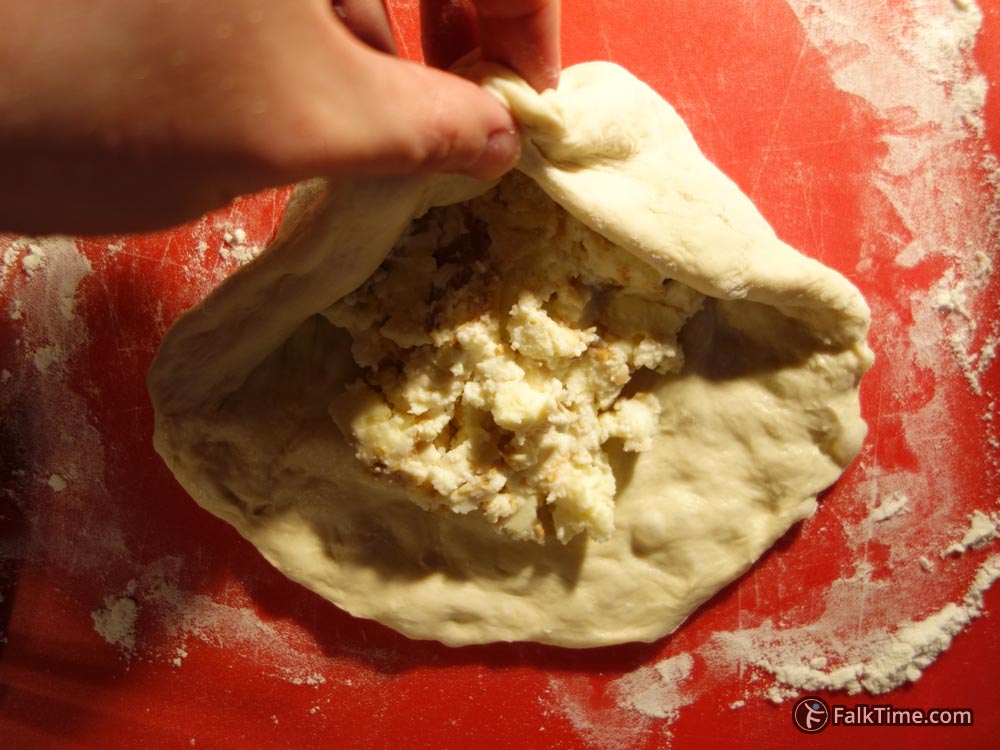
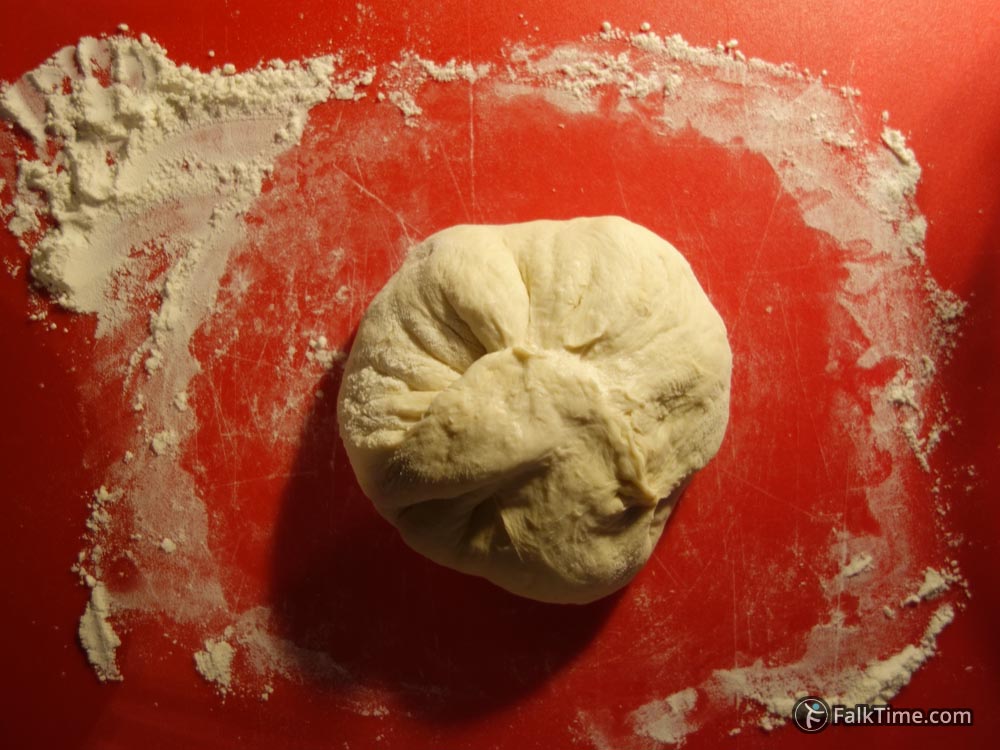
9. Put 1 part of filling in the center. If you have done it with hands, wipe off the rest of filling from your hands cleanly (filling or water should not touch dough edges, otherwise they won’t glue to each other). Lift the edges of dough up and seal them.
Now you should choose whether you want to bake or to fry khachapuri. You can try both, as only 2 of 3 khachapuri fit the baking tray.
Baking khachapuri in oven
10. Preheat oven to 220-240°C. I use convection mode.
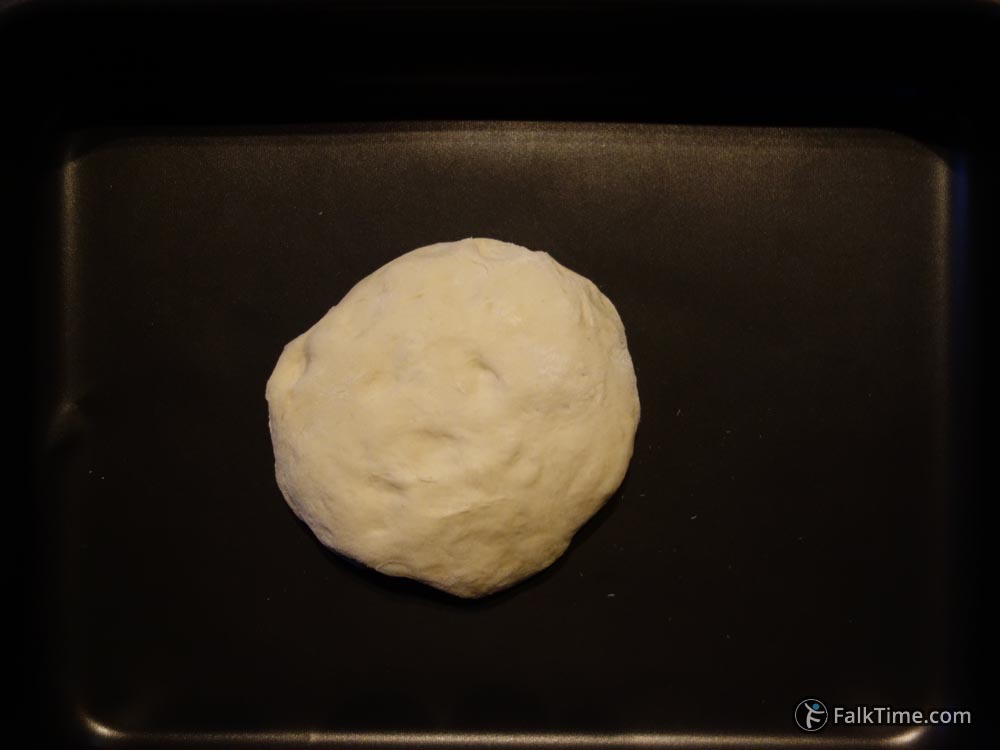
Cover baking sheet with parchment paper. Place khachapuri – it’s important – with the seal down. Now gently (the same way you did it with dough in Step 8) make khachapuri flat, shaping a disc of 20-25 cm. in diameter.

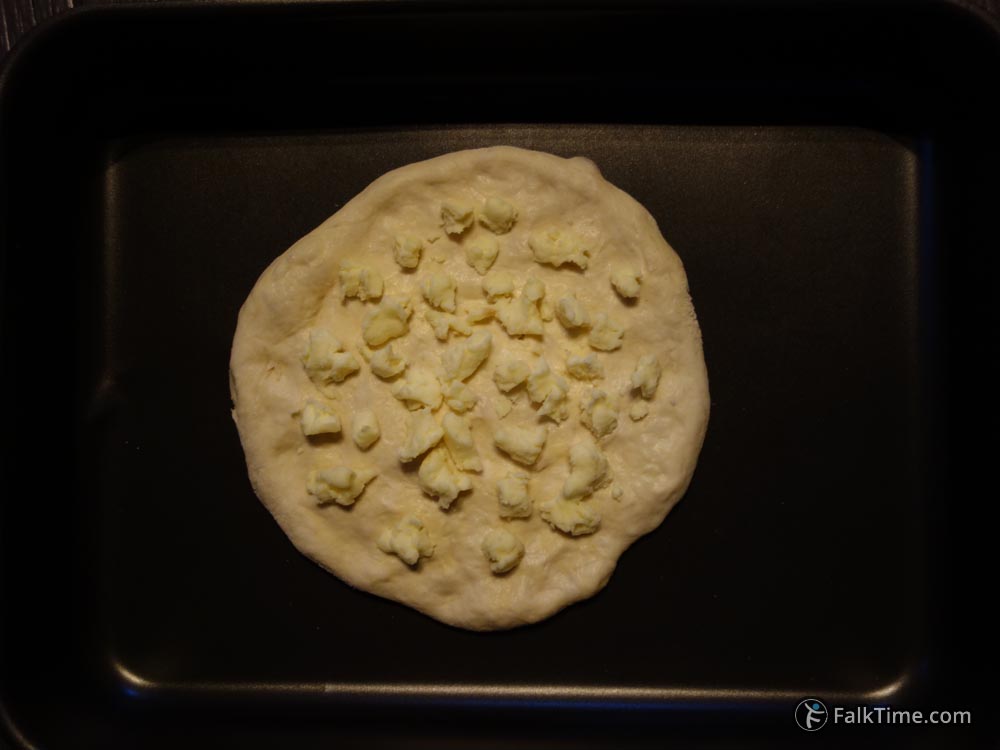
If you have left some cheese for topping, it’s a good idea to shape khachapuri so its edges will be higher than center – this way melted cheese won’t slip away. Also make a little hole (just break upper layer of dough) in the middle. Top with cheese.
11. Shape the 2d khachapuri the same way.
12. The oven is hot enough. Put baking tray with khachapuris inside. Time of baking depends on temperature. 220°C will take 12-15 min. to bake. 230°C – 10-13 min. I would recommend spying on khachapuris after 9 min. of baking: they are ready when the color of dough is not pale. And 9 min. are enough for shaping the last khachapuri.
If you want to warm up khachapuri the next day – use a pan covered with some butter instead of microwave oven.
Frying khachapuri in a pan
Frying pan should be 26 cm. and up in diameter, and it should have lid.
10. Grease pan with some oil or butter. Place unflattened khachapuri in a pan with the seal down. With gentle movements of your fingers make it flat.
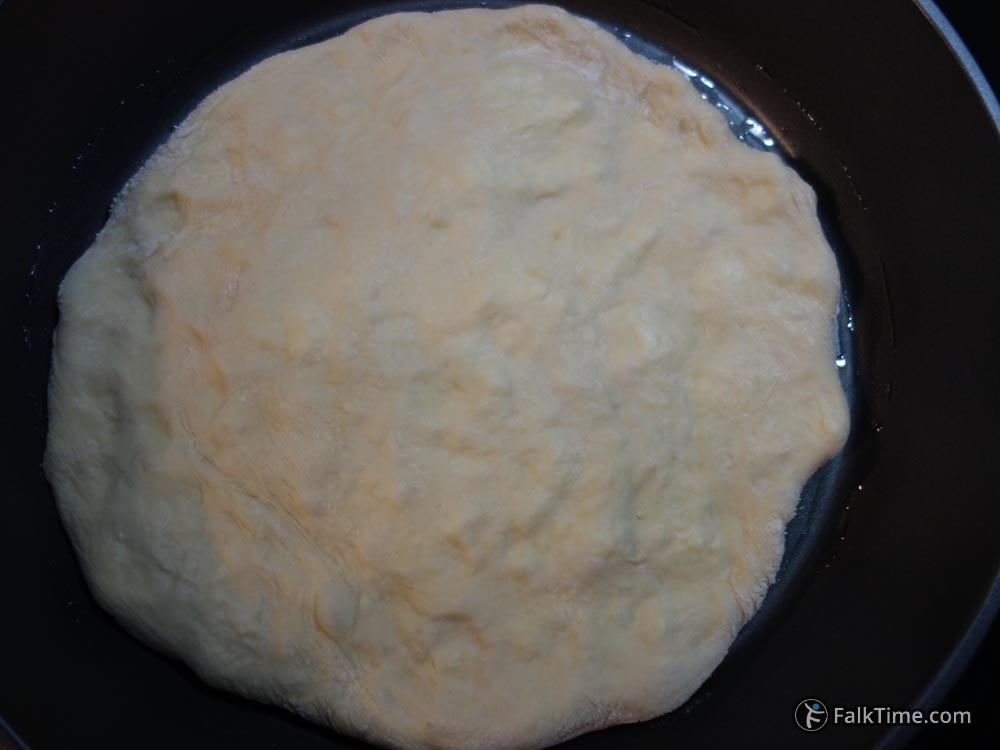
11. Cover the pan and turn on the heat. I have induction stove (it needs less time to heat up), so I turn on medium heat (1000 W out of 1800 W) for 2 min. I suppose that if one uses gas or electrical stove, one should turn maximum heat on.
12. Now I slightly reduce the heat (800 W out of 1800 W), for gas/electrical stove – use medium heat. Fry khachapuri covered for ~8 min.
13. Flip over khachapuri using long spatula and cover the pan. Now fry ~6 min.
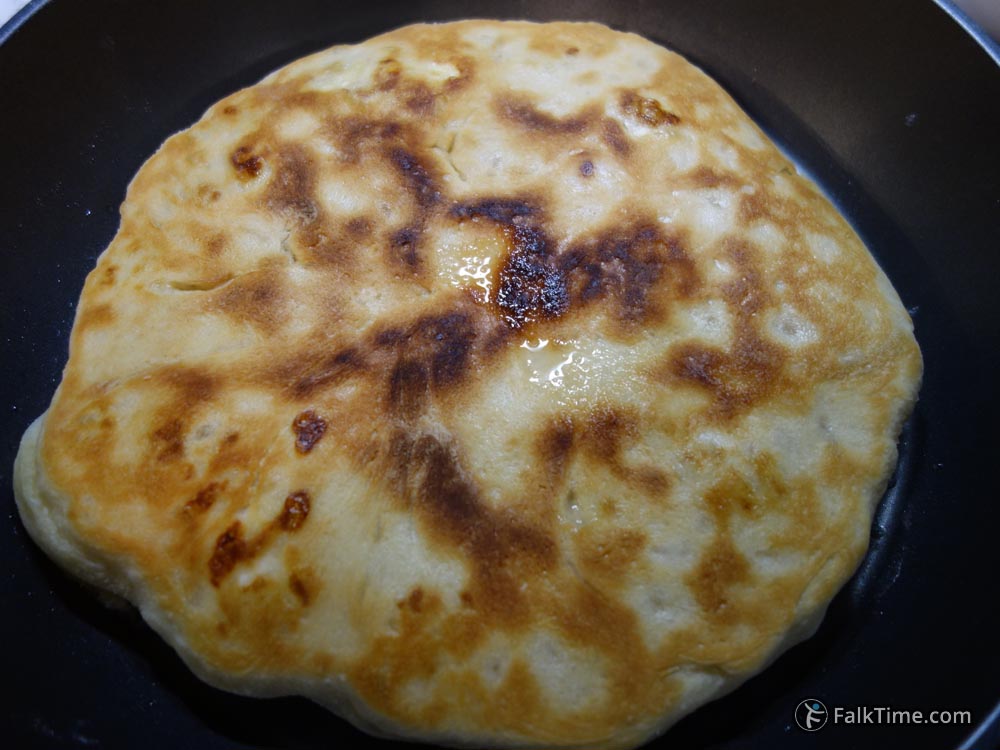
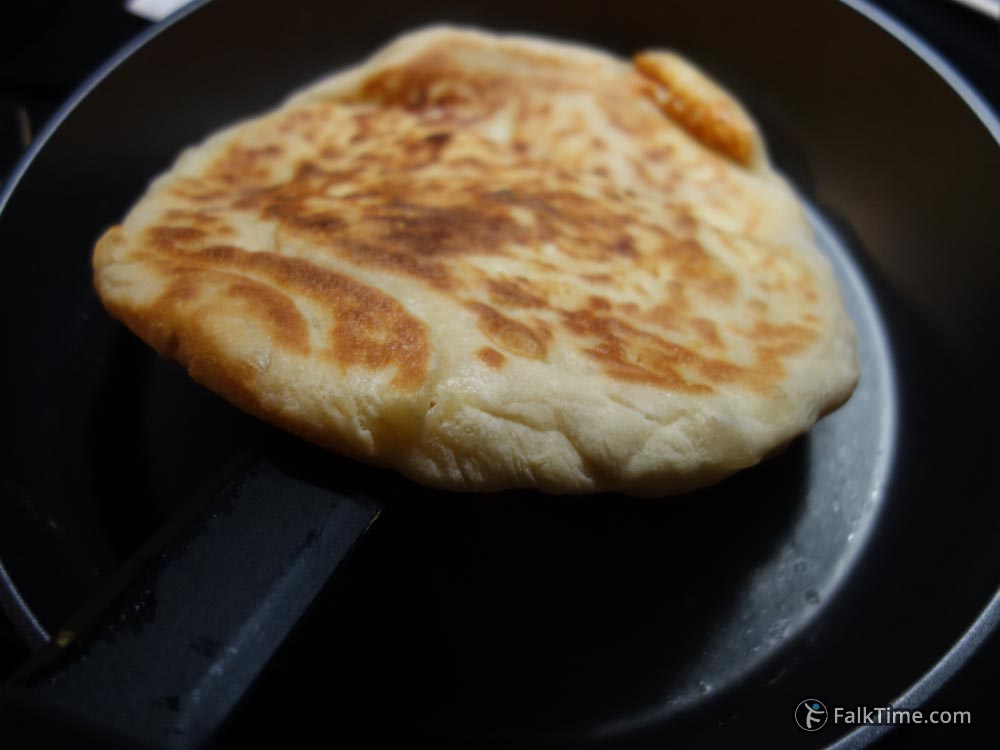
14. Flip over khachapuri. You may top it with cheese, if you want to, but in this case you need to cover pan, so it will melt better. If you don’t top khachapuri with cheese – don’t cover the pan. Fry khachapuri for ~4-6 min. Watch the bottom in order to avoid burning (just inspect khachapuri’s bottom from time to time by lifting it with spatula):
How to freeze khachapuri
Of course khachapuri is tastier, when it’s just baked. But it takes too much time to knead the dough and wait for it to rise every day. And when you cook just for yourself, you won’t be able to eat all 3 big khachapuris at once. So sometimes I freeze unbaked (unfried) khachapuris.
After I have put cheese inside of dough and have sealed edges (Step 9), I open plastic bag and put khachapuri inside (with its seal down). Then I shape khachapuri in plastic bag, release excess air and seal the bag with adhesive tape.
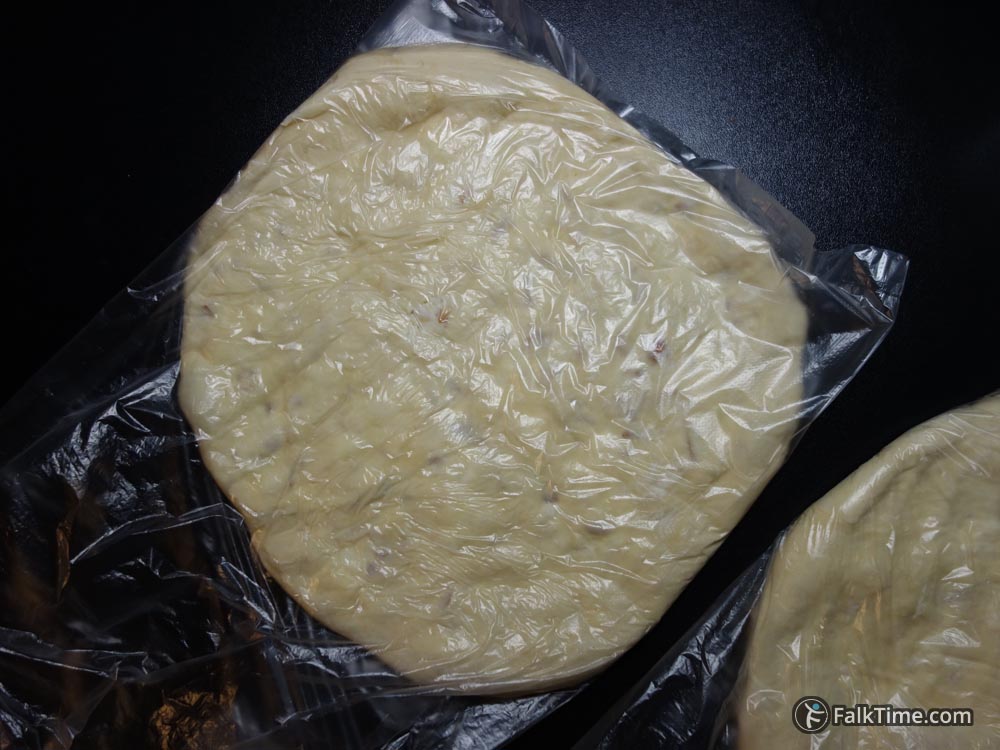
Then I open freezer, put my hands (palms up) under khachapuri and gently transfer it to a freezer.
How to bake frozen khachapuri
Take frozen khachapuri out of plastic bag and put it:
a. In a baking mold with (at least 5 cm) walls. Put the mold in a plastic bag or cover the mold with a towel – do it thoroughly to prevent khachapuri from drying out.
b. In a frying pan (its bottom should be covered with thin layer of oil). Cover it with a lid.
Defrosting takes ~1 hour at room temperature (+20-25°C).
When you’re done with defrosting, fry or bake khachapuri according to instructions I’ve given you above.


